

How to Style Open Shelves in a Kitchen Without Clutter
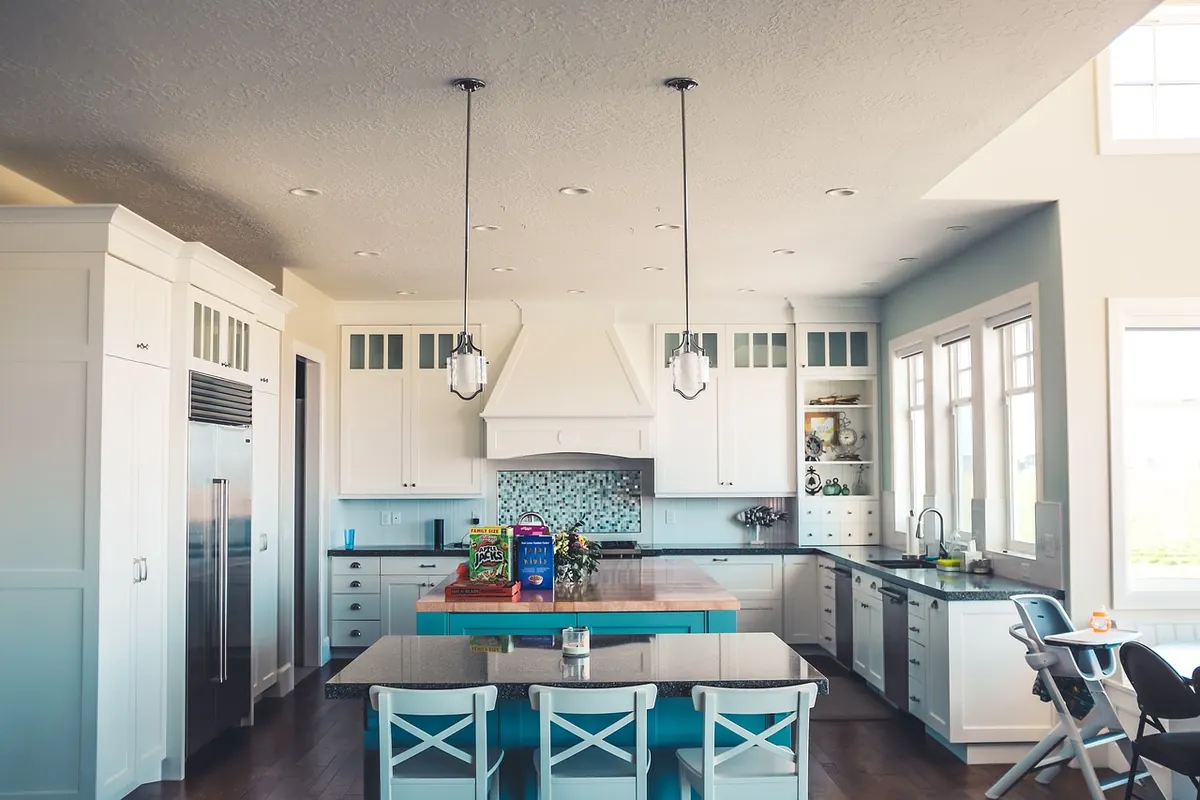
Open shelving in a kitchen is a bargain. You give up the hiding place, and in return you get light, air, and the small daily pleasure of reaching for a plate you can actually see. The trouble starts when every object with nowhere else to go lands there. A shelf crowded with mismatched mugs, three half-used spice jars and a single birthday candle doesn't read as a designed kitchen. It reads as a busy one. Styling open shelves without clutter is less about taste than about rules you can repeat, season after season.
Give Every Shelf One Job
Most shelf chaos comes from asking one plank to store, display and conceal at the same time. Decide the primary purpose of each shelf before anything goes back on it.
- Daily shelf: plates, bowls, glasses, the mugs you genuinely reach for. Function wins here; the styling comes from consistency.
- Display shelf: a few ceramics, a framed print, one plant, an object you like looking at.
- Utility shelf: oils, spices, a basket for keys and receipts, the coffee gear.
If you have only two shelves to work with, make one daily and let the other carry display and utility together, kept apart in their own zones. Anything that doesn't fit the job gets a cabinet, not a compromise spot on the shelf.
Height matters as much as purpose. Heavy plates and bowls belong on the lowest shelf, where lifting is easy and the visual weight keeps the arrangement grounded. Everyday glasses and mugs sit at eye level. Things you rarely touch — a pretty bowl, a small sculpture, a stack of cookbooks — go up top.
Edit Before You Style
Take everything down. Wipe the shelf, then put back only what you have used in the past month, plus anything you would honestly miss seeing every day. Everything else goes into a box. Leave the box in a closet for two weeks. If you haven't opened it, you have your answer about what belonged there.
This step is unglamorous and it does most of the work. A shelf with eight well-chosen items will always look better than the same shelf holding eighteen, and no amount of arrangement tricks will fix a crowd. Aim for roughly two-thirds of the shelf length filled and one-third empty. Empty space is what makes the objects on the shelf look deliberate instead of stranded.
Group Dishes So They Read as a Collection
Loose, evenly spaced plates look like a shop display. Clustered plates look like a home. Build two or three groups per shelf rather than a long row.
Stack plates in a single column, ideally six to eight high, and line up the front edges so the stack looks crisp. Nest bowls inside each other rather than stacking them like coins. Turn glasses upside down in neat rows of two by three, or line them shoulder to shoulder if they're tall. If your dishes are a mix of patterns and colors, let one material dominate — all white ceramic, say — and allow the odd wooden board or glass piece to break it up.
Repeat a color or material two or three times across the shelf. Two touches of warm wood, two hits of white, and the arrangement starts to look intentional even though nothing matches exactly.
Choose Plants That Survive a Kitchen
Plants soften hard surfaces, but a kitchen is a specific environment: steam, grease, temperature swings and often limited daylight. Pothos, snake plants, philodendron and small ferns handle the average kitchen counter shelf well. Herbs are charming and practical, but only if the shelf gets several hours of decent light — otherwise you're just rotating sad basil.
Keep the shelf directly above the stove clear. Heat, oil and steam will coat whatever sits there, and a plant or an open bowl of fruit will suffer for it. One or two plants per shelf section is plenty; a row of five small pots reads as a garden center, not a kitchen.
If your shelves hold pantry items, decant only what you use weekly into matching jars and keep the rest in its original packaging in a cupboard. Write the date on the jar lid with a small sticker. Matching containers look calm, but a shelf of unlabeled mystery powders is its own kind of mess.
Add Art and Objects Carefully
Art on a kitchen shelf works best when it's small and leans rather than hangs. A single framed print, propped against the wall and anchored by a stack of cookbooks or a bowl, adds personality without demanding a gallery wall. Keep paper and textiles away from the stove zone, where steam and splatter will mark them.
Cookbooks can earn a place if you use them. Stand four or five upright between bookends, or lay three flat and set a small bowl on top. If they're only there for decoration, they're clutter with a nicer spine.
The Spacing Rules That Kill Clutter
- Leave two to three inches of bare shelf between groups. Tight clusters, generous gaps.
- Put the tallest object at the end of each group to act as a natural bookend.
- Vary heights within a group and keep widths consistent, so the eye reads rhythm rather than noise.
- Limit each shelf to one tall, one medium and one low element per cluster.
- Face labels and handles forward, and turn every mug handle in the same direction.
- Stop adding before it feels full. If you're unsure, remove one thing.
A Shelf That Still Works on a Tuesday
The real test isn't how the shelf looks the day you style it, but how it looks after a week of cooking. Build in a five-minute reset: straighten stacks, return stray items to their zone, and pull one thing off if the shelf has started to creep. A small basket on the utility shelf gives loose items somewhere to land between resets instead of spreading across the planks.
Rotate the display pieces a few times a year. Move a bowl, swap a plant, bring out a different print. Open shelves reward attention more than perfection, and a kitchen that looks lived in but considered will always beat one that looks untouched.
Photo: StockSnap / Pixabay